
This past weekend I bought 15 pounds of Roma tomatoes from Need More Acres. After a successful first attempt at canning, I thought I would try canning on a larger scale. I was feeling confident that I could can my own tomatoes.
To be honest though, I'm not sure I would have been as confident if it weren't for all the canning demonstrations that I have seen at the Community Farmers' Market. (If you can't tell by now, I love this Farmers' Market.)
So with the help of lots of demos at the market and
this online tutorial I got to work.
If you would like to give canning a try, here's how you can do it, too.
First, I washed all 15 pounds of tomatoes.

Aren't they just gorgeous?

This was my set up. The jars came straight out of the dishwasher. I had a big pot of boiling water, a big bowl of ice water, a bowl for the tomato skins, and a large bowl for the peeled tomatoes.

On the back of the stove I had a pot where I boiled the
lids and the rings for about 5 minutes to sterilize them.

After everything was set up, I got to work on the tomatoes. I cut an X on the bottom of each one and then dropped it into the big pot of boiling water for about a minute.

Then I immediately put the tomatoes into the icy water.
This makes removing the skins very easy.

I removed the skins.

I cut off the very tip of the tomato to remove the stem.

Then the tomato went into the bowl. This process took a while,
but at least I was able to keep the kitchen relatively clean this time.

Here are all the skinned tomatoes and the mess I made.

I cleaned up the counter and moved the jars closer.

I was able to fit about 8 roma tomatoes into each jar.
I also added 1 tablespoon of freshly squeezed lemon juice to each pint jar.
Three lemons were enough for 16 jars and I squeezed the lemons before I got started on the tomatoes.

Then I used our electric kettle to add boiling water to each jar.
I added enough water to just cover the tomatoes.
(If you don't have an electric kettle, you can just boil water on the
stove and use a funnel to pour it into each jar.)

I slid a wooden spoon up and down to remove any air bubbles.

I wiped the rim of the jars clean with a cloth.
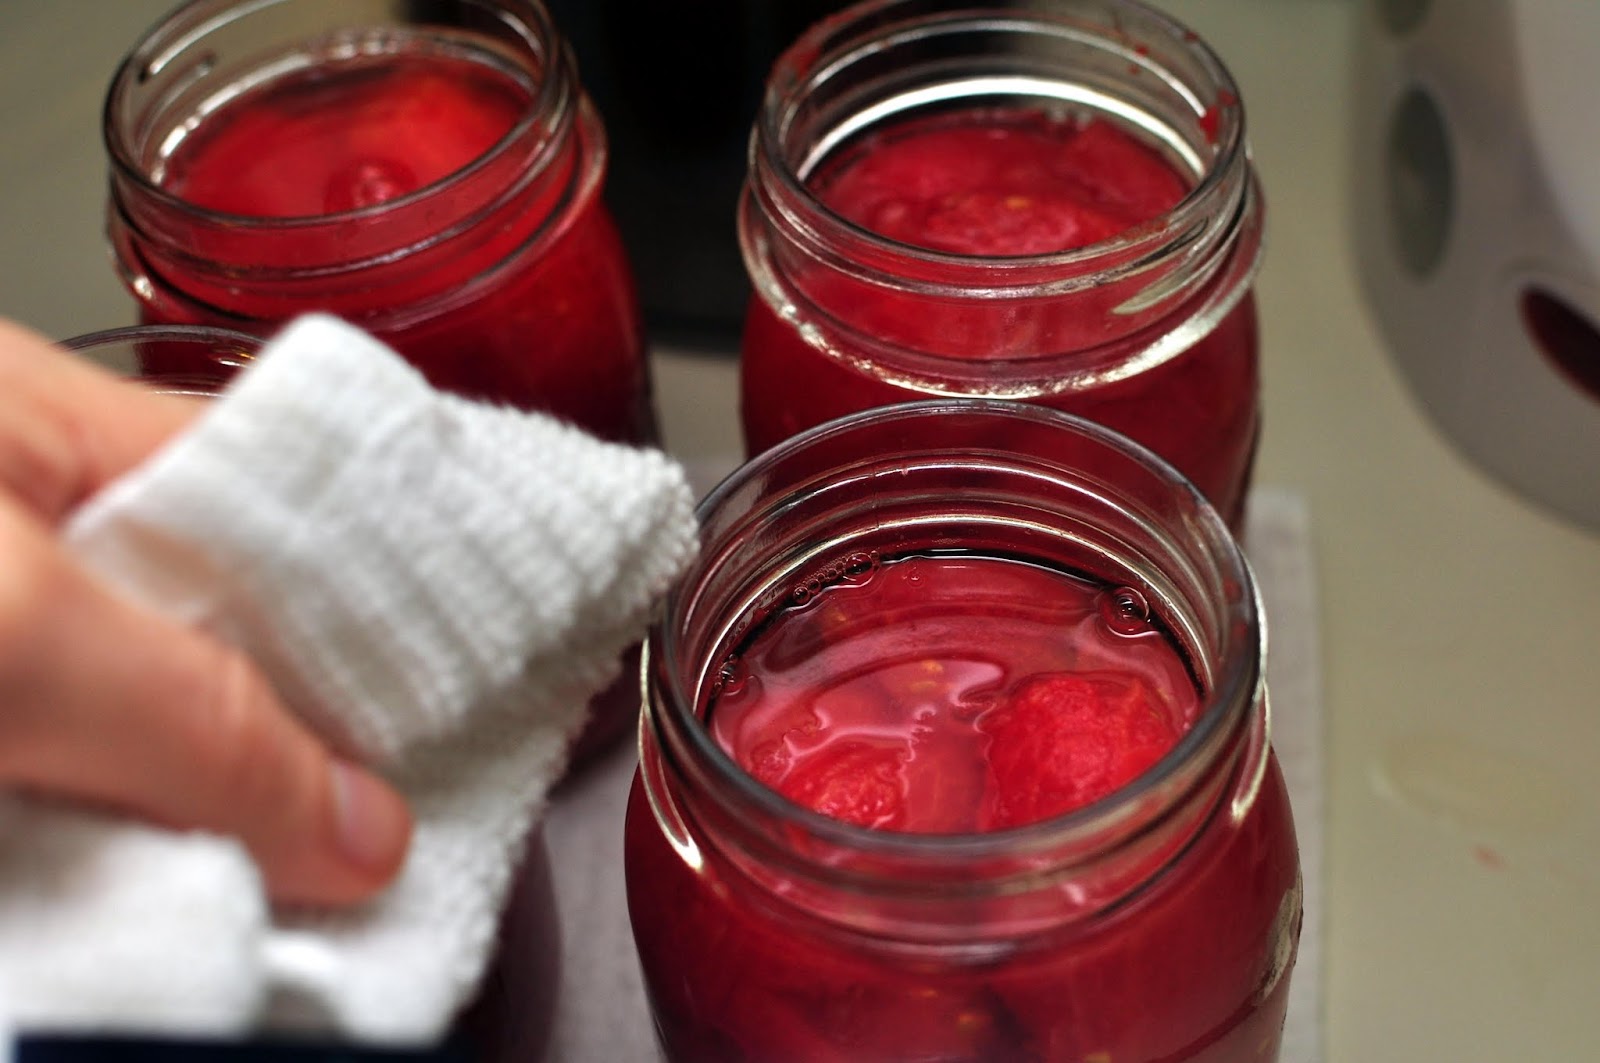
Then I added my lid...

and the ring.

I boiled my jars for 40 minutes.

After removing the jars from the hot water to cool, you begin to hear the most glorious sound, a pop. Each pop means that your jar has sealed correctly. I did have one jar that did not seal properly because the lid popped up and down when I pressed on it. I just put it in the fridge and I will try to use it in the next few days.


Now I have 16 jars of tomatoes waiting to be used for soups and stews and all kinds of other recipes.
I'm just wondering how long they will last and what I will try to can next.
No comments:
Post a Comment